安装Helm
---
下载压缩包并解压
---
1
2
| [root@k8s-master k8s-install]# wget https://get.helm.sh/helm-v3.16.2-linux-amd64.tar.gz
[root@k8s-master k8s-install]# tar -zxvf helm-v3.16.2-linux-amd64.tar.gz
|
移动到环境变量目录中
---
1
2
3
4
| [root@k8s-master k8s-install]# mv linux-amd64/helm /usr/local/bin/
# 加载环境变量
[root@k8s-master k8s-install]# source <(helm completion bash) >> ~/.bash_profile
[root@k8s-master k8s-install]# source ~/.bash_profile
|
验证
---
1
2
| [root@k8s-master k8s-install]# helm version
version.BuildInfo{Version:"v3.16.2", GitCommit:"3a31588ad33fe3b89af5a2a54ee1d25bfe6eaa5e", GitTreeState:"clean", GoVersion:"go1.20.7"}
|
添加Helm的官方仓库
---
添加官方Charts仓库
---
1
| [root@k8s-master k8s-install]# helm repo add stable https://charts.helm.sh/stable
|
查看官方Charts仓库
---
1
| [root@k8s-master k8s-install]# helm search repo stable
|
安装helm dashboard
前提条件
+ 部署nfs共享存储,参考文档:[https://www.cuiliangblog.cn/detail/section/116191364](https://www.cuiliangblog.cn/detail/section/116191364)
+ 部署ingress,参考文档:[https://www.cuiliangblog.cn/detail/section/140101250](https://www.cuiliangblog.cn/detail/section/140101250)
部署
1
2
3
4
5
6
7
8
9
10
11
12
13
14
15
16
17
18
19
20
21
22
23
24
25
26
27
28
29
30
31
32
| [root@k8s-master k8s-install]# kubectl create ns helm
[root@k8s-master k8s-install]# helm repo add komodorio https://helm-charts.komodor.io
[root@master1 k8s-install]# helm pull komodorio/helm-dashboard --untar
[root@master1 k8s-install]# cd helm-dashboard/
[root@master1 helm-dashboard]# ls
Chart.yaml README.md templates values.yaml
[root@master1 helm-dashboard]# vim values.yaml
dashboard:
persistence:
storageClass: nfs-client # 指定使用nfs存储
[root@k8s-master k8s-install]# helm install helm-dashboard -n helm . -f values.yaml
NAME: helm-dashboard
LAST DEPLOYED: Mon Sep 25 22:43:38 2023
NAMESPACE: helm
STATUS: deployed
REVISION: 1
NOTES:
Thank you for installing Helm Dashboard.
Helm Dashboard can be accessed:
* Within your cluster, at the following DNS name at port 8080:
helm-dashboard.helm.svc.cluster.local
* From outside the cluster, run these commands in the same shell:
export POD_NAME=$(kubectl get pods --namespace helm -l "app.kubernetes.io/name=helm-dashboard,app.kubernetes.io/instance=helm-dashboard" -o jsonpath="{.items[0].metadata.name}")
export CONTAINER_PORT=$(kubectl get pod --namespace helm $POD_NAME -o jsonpath="{.spec.containers[0].ports[0].containerPort}")
echo "Visit http://127.0.0.1:8080 to use your application"
kubectl --namespace helm port-forward $POD_NAME 8080:$CONTAINER_PORT
Visit our repo at:
https://github.com/komodorio/helm-dashboard
|
添加ingress资源
---
1
2
3
4
5
6
7
8
9
10
11
12
13
14
15
16
17
| [root@master1 helm-dashboard]# cat ingress.yaml
apiVersion: traefik.io/v1alpha1
kind: IngressRoute
metadata:
name: helm-dashboard
namespace: helm
spec:
entryPoints:
- web
routes:
- match: Host(`helm.local.com`) # 域名
kind: Rule
services:
- name: helm-dashboard # 与svc的name一致
port: 8080 # 与svc的port一致
[root@master1 helm-dashboard]# kubectl apply -f ingress.yaml
ingressroute.traefik.containo.us/helm-dashboard created
|
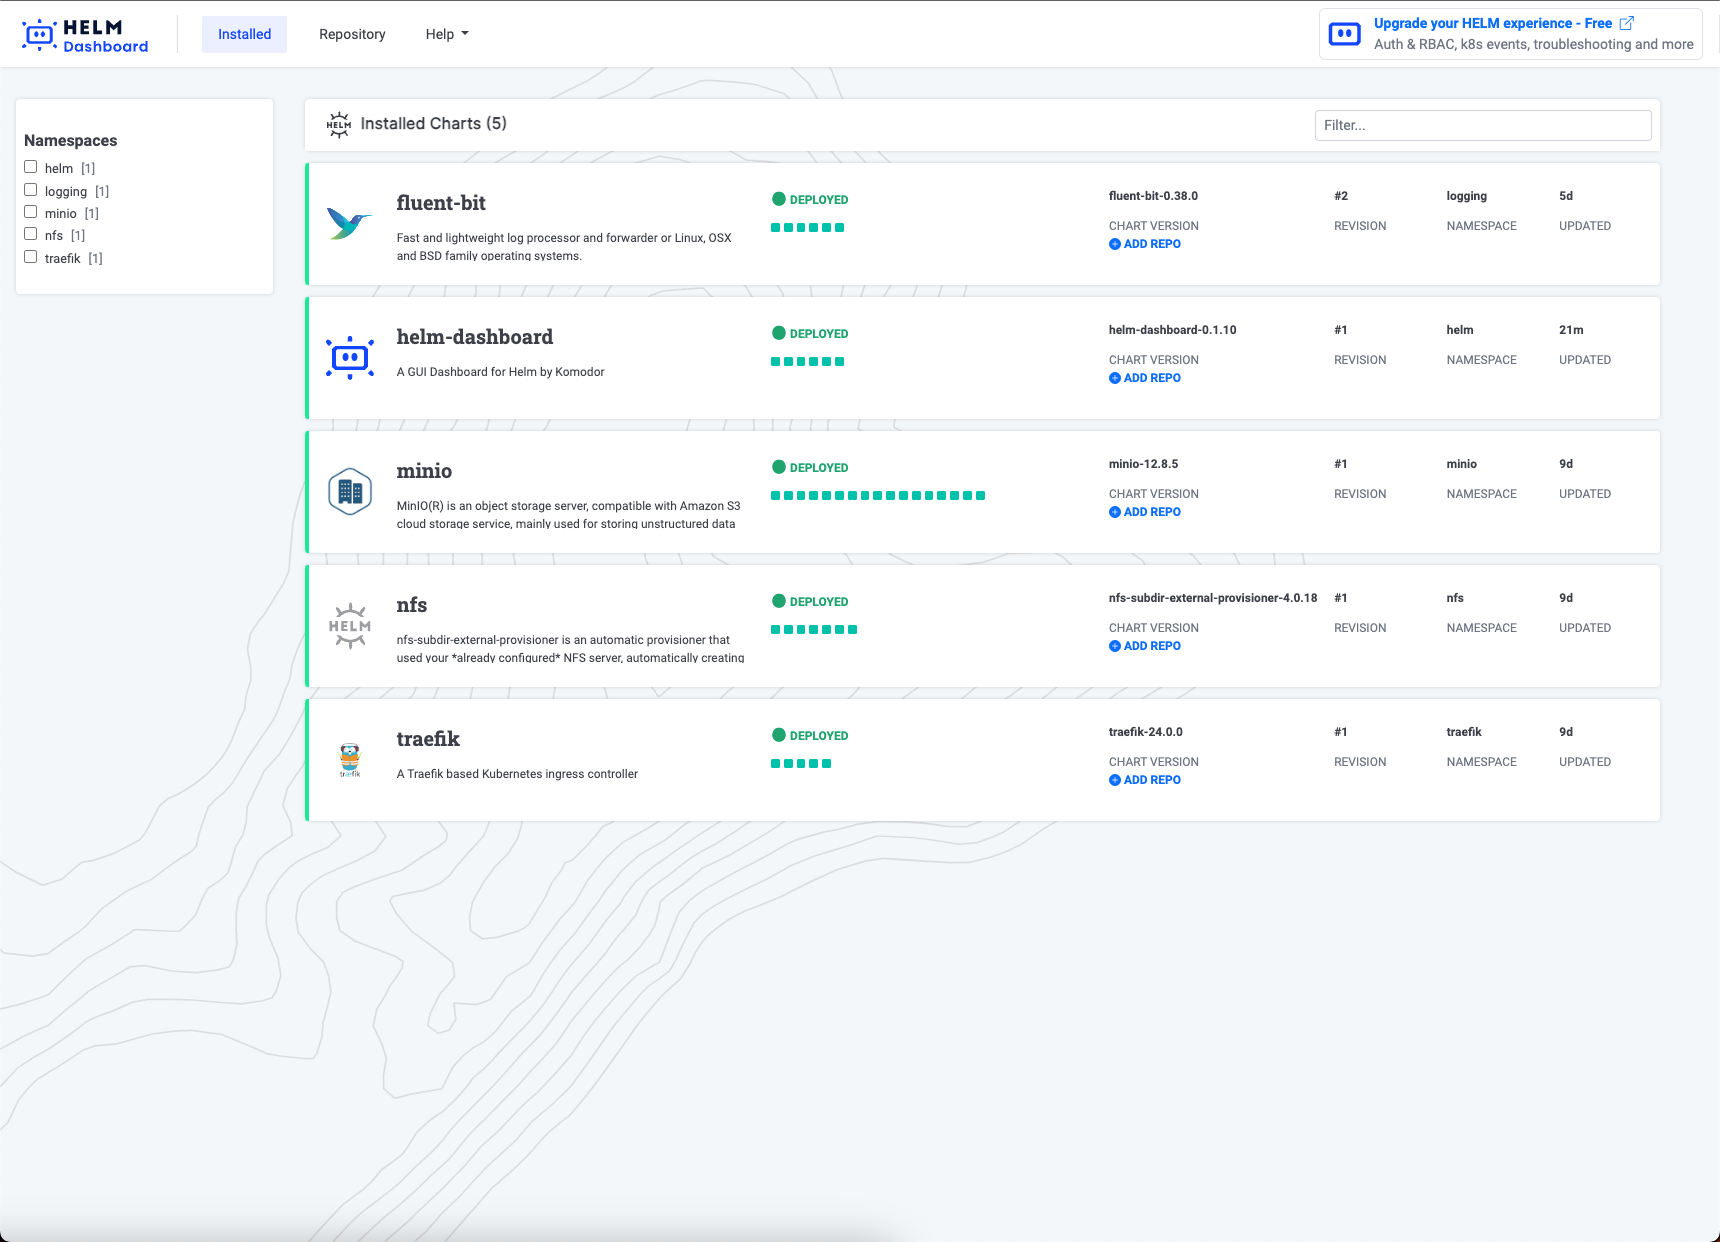
访问验证
---
添加hosts解析记录<font style="background-color:rgba(255, 255, 255, 0);">helm.local.com 192.168.10.10</font>,然后访问验证